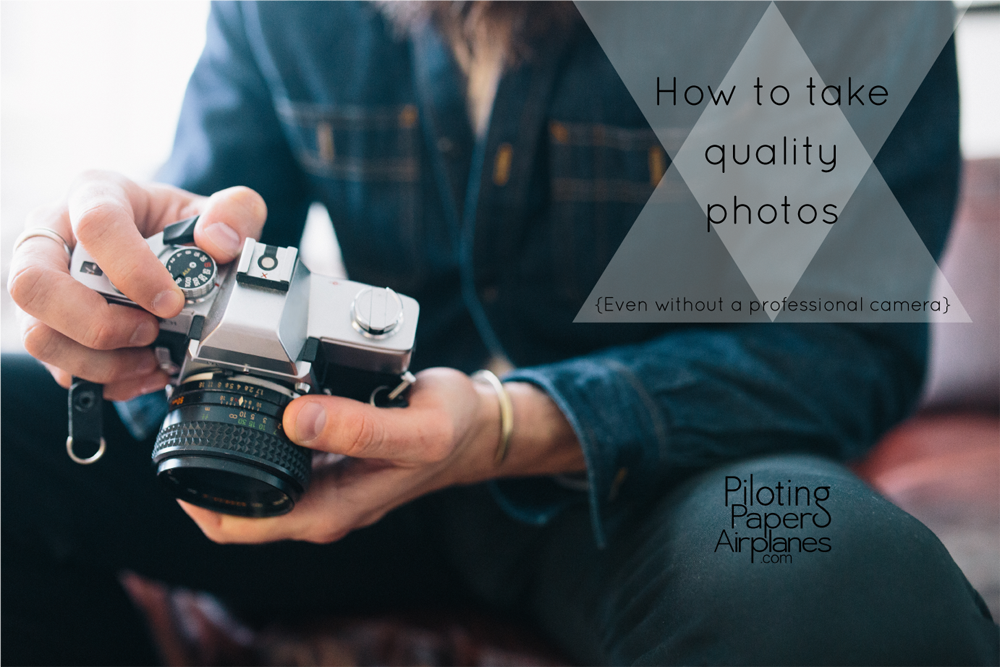
|marketing| How to take quality photos

Quality photos can make or break a blog post, even with the best content. Visuals matter, plain and simple. Whether you want to improve your Instagram photography or step up your blog images, there are some standard techniques to apply – phone camera included.
1. Composition
The rule of thirds is the key to great composition. Imagine tick tack toe across your image. Line up your subjects where those lines cross each other.
2. Zoom with your feet
Don’t become dependent on the camera zoom – instead move closer to your subject. You’ll get a better composition and avoid zoom distortion.
3. Avoid the flash
The camera flash won’t go more than a few feet and creates harsh shadows. Turn off the flash and use natural light as often as possible.
4. Be aware of your light source
Watch for bright light behind your subject – this will cause your camera to overexpose the shot making your subject dark. Likewise, avoid direct light in front of your subject that produces hard shadows – and causes people to squint.
5. Know your equipment
If you do have a camera with manual mode, here are the basics you need to know.
• Aperture: hole in the lens that lets light in and controls depth of field. Smaller number (F/2) = wider opening that allows more light and produces a shallow depth of field. Larger number (F/16) = smaller opening allows less light and produces a larger depth of field.
• Shutter: opening in the camera body that lets light in. The speed – duration for which the shutter is open – is measured in fractions of a second.
Faster shutter speed (1/1000) allows less light and freezes the subject sharply. Slower shutter speed (1/25) allows more light and produces more motion blur. Shutter and aperture work in tandem.
• ISO: sensitivity to light. Higher ISO (1000) is more sensitive and less light is required for correct exposure. Lower ISO (200) is less sensitive and more light is required for correct exposure. Keep in mind that a higher ISO lowers the image quality by producing more “digital noise.”
I am a communication professional by trade and happen to have a photographer for a husband. You can thank him for teaching me these tools!


These are great tips! I don’t own a camera other than my iPhone but I don’t usually pay attention to these things when I’m taking photos. I would like to get a real camera sometime soon though. I wish they weren’t so expensive but they are a great investment if you buy a quality one.
There are even good point-and-shoot cameras you could look at. I have one with lots of options and much cheaper price point that even consumer DSLRs.
For reference, cameras come in consumer, pro-sumer and professional lines. Most bloggers probably have consumer DSLRs which do everything we need them to do. You’d be better investing in better lenses if you do go with a DSLR at some point.
The essentials! I still can never get aperture/shutter/ iso to stick in my mind though…I read about them over and over but when it comes to manual on my DSLR it is a hopeless cause!
For real! I “know” them in theory, but not well enough to shoot on manual. I just don’t think that quickly. I like a semi-manual mode where I choose my aperture for depth-of-field and let the shutter automatically adjust accordingly. But I honestly RARELY use a DSLR. I use my phone and my nice point-and-shoot does a great job, or I have Jon take photos. Wife perks.
Great tips! Haha! I am a constant iPhone camera user. I don’t even know why we still have a DSLR!
You can do much with phone cameras now! Especially since we rarely print photos these days, so a well-lit phone photo is high enough quality for anything online. Clearly you don’t have the control a full camera offers… but I also don’t have to carry another thing. 🙂
I have a camera and am interested in a sharp clear image foreground and blurry background. What settings should I change to for that effect?
You want to pay attention to your aperture to control depth-of-field. A large depth means more of the field is in focus, smaller depth means less in focus (focus on the foreground object and the back blurs out). You want a wider aperture opening like F2, F4, etc. The range you have depends on your lens. A wider opening also lets in more light, so you’ll probably want a faster shutter speed to not over-expose the shot.
That is extremely helpful Larissa. I will be playing with that when I get home. Thank you so much for sharing this information.
This is all great information! I just got a Canon T5i Rebel for Christmas and have been learning as I go- so much to figure out but the rule of thirds and playing with the aperture has definitely helped!
Awesome! Just experimenting with composition can make a big difference in your images. Taking photos is such a great hobby – enjoy your new camera!
I have the same Annmarie and really need to take a class!
This is so helpful! I suck at photography lol…I need to work on finding better lighting when I take photos at home.
Man photos at home are so hard! I take WAY more meal photos than I ever post to Instagram because they’re just not good enough. This post helped me a lot: http://www.abeautifulmess.com/2014/12/tips-for-using-natural-light-in-still-life-photography.html
LOVE these tips! I’m a big fan of no flash. I never use it because I feel like it ruins pictures.
True that. It’s really rare that flash helps in a good way. I’ve used the flash light on my phone to help light a friend’s photo. Much better than her own flash because I was able to hold it more to the side, causing fewer and less-harsh shadows for her picture.
Great tips! I just use my iPhone, but I do pay attention to compositon (and the background) and lighting.
Oh I didn’t even talk specifically about the background in this post, but so important! It’s so easy to snap a photo not realizing the odd things behind until later.
Great tips! I am just getting into photography more and I am looking for all the tips I can get!
So fun! I’ve been really working on my Instagram photos lately. I want my feed to be something I’m happy with. I’m enjoying being more intentional about photos and only posting ones I’m proud of. The best part is most of what I learned in college photography classes and from my photog husband can translate into phone photos.